
Short answer: Smart HVAC controls — from smart thermostats ($100-$300) to zoning systems ($1,500-$4,500) — reduce energy use by running your system only when and where it is needed. A smart thermostat is the best first step for most homes and typically pays for itself in 1-3 years. Check that your system has a C-wire before purchasing, and hire a pro for zoning or complex wiring. Book an assessment online or call (702) 567-0707.
Smart HVAC controls let your system run only when needed. They cut energy use, fix room imbalances, and slow wear. Upgrades range from smart thermostats to zoning and full building systems. Costs and wiring vary, so check compatibility and get a pro for wiring or complex setups. (Source: NREL Advanced HVAC Controls)
Key Takeaways
- Smart thermostats offer fast payback and simple installs for most homes.
- Zoning brings big comfort gains for multilevel or split‑use homes.
- Plan wiring, C‑wire needs, and airflow before buying parts.
- Commissioning and minimum runtimes prevent short cycling and damage.

What are HVAC controls and automations?
HVAC controls include thermostats, sensors, relays, and the software that runs equipment. They tell compressors, fans, and dampers when to run and at what stage. Proper controls keep temperatures steady, avoid short cycling, and reduce wasted runtime by matching output to need.
Automations add schedules, occupancy sensing, and rules to improve comfort and lower energy use. These systems can respond to time of day, utility signals, or whether rooms are occupied. Automation reduces manual changes and helps systems run more smoothly over time.
What is a smart thermostat?
A smart thermostat is a networked controller with a clock, app access, and often learning modes. It replaces a manual dial and adds scheduling, remote control, and run‑time reporting. Many models work with voice assistants and can show historical runtime by day or week.
Most smart thermostats need steady 24VAC power often called a C‑wire. Without a C‑wire, some models use power extenders or adapters. Confirm compatibility with your furnace, heat pump, or dual‑fuel setup before buying to avoid installation surprises.
How does a smart thermostat save energy?
A smart thermostat saves energy by reducing runtime during times you do not need full comfort. It uses schedules, setbacks, and geofencing to cut conditioning when homes are empty. In many climates, owners see single‑digit to low‑teens percent savings when settings match habits.
Actual savings vary with insulation, system size, and user behavior. If a system is oversized or ducts leak, thermostat upgrades alone give limited gains. Combine controls upgrades with sealing and proper sizing to get the best results.
Which sensors improve comfort?
Temperature sensors placed in key rooms help reduce hot or cold spots that a single wall thermostat can miss. A set of three sensors that average readings often gives more stable control on split floors. Sensors have to sit away from vents and sun to be reliable.
Humidity sensors add value in humid climates and control dehumidification cycles. CO2 sensors can trigger ventilation when people are present. Choose sensors that match the controller platform to avoid extra wiring or gateway costs.
Which control upgrade fits your home?
Choose upgrades by matching goals, budget, and system type. A smart thermostat is the lowest cost option and often the first sensible step. It improves scheduling and provides data to judge if zoning or more complex work is worth the cost.
Homes with large temp differences, separate schedules, or weak duct runs often benefit from zoning. Zoning costs more but can cut runtime in unused areas and greatly improve comfort. Larger homes with multiple units may need centralized coordination for best performance.
When should you choose a smart thermostat or zoning?
Pick a smart thermostat when one system serves the whole home and occupants share comfort needs. That gives fast results with little disruption. If upstairs and downstairs comfort differs or people use rooms at different times, zoning will show clearer benefits.
Consider a hybrid path. Start with smart thermostats and monitor data for a few months. If the data shows persistent room imbalances or long runtimes, add zoning to target problem areas. This staged approach spreads cost and reduces guesswork.
How to evaluate home layout for zoning?
Map rooms by use, not just by floor. Group bedrooms together and living spaces together if they are used at the same times. Note where ducts branch and how long runs are. Short, straight runs simplify damper installs and reduce cost. (Source: NREL Advanced HVAC Controls)
A pro should measure static pressure and fan curves before committing. Homes with small or undersized air handlers may need fan upgrades to support multiple zones. Ask for a airflow test and a duct drawing during the site visit.
What are typical upgrade costs?
Expect $100–$300 for a smart thermostat plus basic install fees. Zoning with three dampers and a panel often costs $1,500–$4,500 depending on duct access and labor. Full building automation starts higher and varies with integration scope.
Labor and drywall repair can add to bills if ducts are hard to reach. Get itemized quotes that list parts, wiring, and commissioning. Ask suppliers about rebates and manufacturer deals that reduce out‑of‑pocket cost.
Learn about available federal tax credits for energy-efficient HVAC equipment.
How to check wiring and C‑wire needs?
Turn off power then open the thermostat to check wires. Look for a wire on the C terminal. If none exists, use a multimeter or a thermostat C‑wire tester to confirm 24VAC common. Many older homes lack a C‑wire.
If you lack the C‑wire, options include running a new conductor, using a power extender, or swapping to a thermostat model that supports power stealing. For unsafe or unclear wiring, hire a technician to avoid damage and loose connections.
When to DIY and when to call a pro?
Install a basic thermostat yourself if you know how to turn off power and follow wiring diagrams. Keep photos before you disconnect wires. For zoning dams, wiring panels, boiler controls, or systems with high voltages, call a licensed contractor.
Professionals handle staging, minimum runtimes, and commissioning. They also secure permits when needed. Hiring a pro reduces risk of warranty voids and protects equipment from improper wiring or fan stress.

How to plan an HVAC controls upgrade?
Start planning by listing equipment, thermostat types, and wiring at each location. Note furnace or heat pump stages, the number of systems, and whether you have a dual‑fuel setup. That inventory directs which controls match your system.
Next, inspect duct access and fan capacity if you plan zoning. Plan for sensor locations and any low‑voltage trunking. Finally, set goals for comfort improvement and expected payback so installers recommend the right scope.
What steps come before an upgrade?
Document current wiring and thermostat placement with photos. Inspect ducts for leaks and possible sealing needs. Run or request a load calculation if the system feels oversized or the home has large temperature swings.
A site visit from an experienced installer is essential for zoning or BMS work. They will test fan curves, static pressure, and overall duct health. Fixing mechanical issues first avoids wasted spend on advanced controls.
How to choose a thermostat brand?
Compare compatibility with your system type, stages, and accessories. Look at user reviews, app quality, and firmware update policies. Confirm support for heat pumps, auxiliary heat, or dual‑fuel logic if relevant to your system.
Also check energy reporting and integration with other systems like smart vents or whole‑home sensors. A good brand will have clear support and tools to diagnose connectivity or staging issues when they arise.
Which zoning layout works best?
Simple zoning places dampers on main trunks and one thermostat per zone. That works well for many retrofits. Variable air volume (VAV) or variable fan zoning pairs best with modern variable‑speed fans in newer systems.
Avoid many tiny zones since that can lead to frequent damper movement and noise. Group rooms used together and keep zones balanced to reduce static pressure and preserve airflow for all zones.
How to handle heat pump controls?
Heat pumps need controls that manage reversing valves, staging, and defrost logic correctly. Dual‑fuel setups require outdoor temperature switches or a control that swaps to backup heat at the right threshold. Wrong settings cause inefficient auxiliary heat.
Install thermostats with explicit heat pump and dual‑fuel support. During commissioning, verify lockouts, minimum run times, and defrost coordination. Test the system across a range of outdoor temperatures to confirm proper operation. [Point 1] (Source: NREL Advanced HVAC Controls)
What wiring changes are usually needed?
Expect to add a C‑wire, run multiple bundled conductors for zones, or install relays for line‑voltage accessories. Zoning panels need control wiring from panel to dampers and from panel to thermostats. Label all wires clearly.
For BMS projects, include low‑voltage trunking or gateways for BACnet or Modbus. Plan conduit paths if you want future expansion. Clean wiring saves time on service calls and makes later upgrades cheaper.
How to add sensors for humidity and CO2?
Choose wired or wireless sensors that match your control platform. Place humidity sensors in return locations away from registers and direct sun. CO2 sensors belong in occupied spaces like living rooms or offices for accurate ventilation control.
Calibrate sensors per manufacturer guidance and set alarm thresholds. Proper placement and calibration let automation trigger dehumidification, ventilation, or fresh‑air intake when needed.
What is demand response enrollment?
Demand response programs lower grid strain by asking you to let utilities adjust or shift HVAC load during peak events. Enrollment typically requires a compatible smart thermostat or a certified gateway. Programs offer incentives based on the level of control you allow.
Read program terms carefully for event frequency, opt‑out rules, and compensation. They can provide steady small income or bill credits, and they help the grid during hot summer peaks.
How to measure energy and comfort gains?
Start with a baseline by logging pre‑upgrade energy use and temperatures for at least two weeks. Use smart thermostat reports, whole‑home meters, or spot temperature loggers to capture runtime, cycles, and comfort issues. That baseline is your comparison.
After the upgrade, collect the same data across similar weather and usage patterns. Compare runtime hours, cycle counts, and variance in room temperatures to measure gains. Combine numbers with occupant feedback for a full picture.
Which metrics track energy savings?
Track runtime hours, cycle counts, kilowatt‑hours, and fuel use for heating. Also monitor indoor temperature variance and humidity. Peak demand matters if you pay time‑of‑use or demand charges, as controls can shift load off peak.
Gather data over months to cover varied weather. Short snapshots can mislead because behavior or conditions change day to day. A full season of data gives a reliable view of changes.
How to calculate payback period?
Add installed cost for parts and labor then divide by expected annual savings. For example, a $300 thermostat that saves $120 a year has a 2.5‑year simple payback. Include rebates to shrink the payback time.
Factor in longer equipment life and lower repair bills for a fuller picture. If upgrades reduce compressor starts, that small benefit can add years of life and improve net value over time.
What performance tests validate upgrades?
Run step tests where you force heating or cooling and observe staging, setpoint response, and cycle durations. Measure supply and return air temperatures and check static pressure after damper installs to confirm airflow is within safe limits.
Document results and compare to manufacturer specs. If tests show short cycling or poor airflow, adjust minimum runtimes and damper settings during commissioning to protect equipment.
How to use sensors to benchmark comfort?
Place matched temperature and humidity loggers in representative rooms before and after upgrades. Log data for several days to capture typical patterns and daily swings. Compare standard deviation of temps to quantify improvements.
Browse our project portfolio to see examples of our installation work.
Combine logged data with occupant notes about comfort during peak times. Lower variance and fewer complaints mean success. Use both objective logs and subjective feedback for decisions.
What data does a BMS provide?
A BMS delivers real‑time setpoints, runtimes, alarms, and energy use by zone or equipment. It also stores trends and fault histories. That data helps schedule preventive maintenance and find inefficiencies before they grow. [Point 2] (Source: NREL Advanced HVAC Controls)
Open protocol support like BACnet or Modbus allows export to analytics tools. That makes it easier to create dashboards, alerts, and reports for building managers or owners.
How to check for reduced short cycling?
Count system starts per hour before and after the upgrade. A clear drop shows better staging or enforced minimum runtimes. Use thermostat logs or runtime meters for reliable counts across days and weather conditions.
Also monitor compressor and burner total run hours monthly. More steady run times with fewer starts point to healthier operation and reduced stress on mechanical parts.
Which tools show humidity improvements?
Use paired temperature and relative humidity loggers to see dew point and RH changes. Many smart thermostats report humidity too, giving a quick view. For spot checks, a handheld hygrometer is handy and cheap.
Better humidity control reduces hours outside your comfort band, typically 40–60% RH. Track hours above or below that range to quantify improvements after dehumidification logic or ventilation changes.
How to estimate annual cost savings?
Estimate HVAC share of your bill then apply expected percent savings. For example, if HVAC costs $1,200 a year and you expect a 10% cut, you save $120 annually. Include both cooling and heating impacts for a full year view.
Be conservative. Climate, behavior, and equipment condition all change outcomes. Use utility bills and thermostat reports to refine estimates after a few months of operation.
Try our energy savings calculator to see how much you could save.
What maintenance keeps controls accurate?
Calibrate sensors yearly and change filters on schedule. Check thermostat batteries and Wi‑Fi links. For zoning, inspect damper motors and test end switches. Record settings and check minimum runtimes each season.
Schedule a pro check every 1–3 years to verify staging, lockouts, and communications with any connected systems. Good maintenance keeps controls reliable and preserves savings.
How do upgrades extend equipment life?
Controls that prevent short cycling and enforce minimum runtimes reduce wear on compressors and burners. Balanced airflow from zoning reduces motor stress. Smarter sequencing minimizes unnecessary starts and stops, which are the main cause of early failures.
Measured extension varies, but smoother operation often delays major repairs and replacement. That saving adds to energy savings and improves total project value over the long term.
Which incentives and rebates apply?
Many utilities offer rebates for smart thermostats, zoning, and controls. State programs and national initiatives sometimes add extra incentives. ENERGY STAR lists qualifying devices and programs that often help with paperwork.
Keep receipts, model numbers, and commissioning reports to qualify. Ask your installer to help file rebate claims and to include required documentation in their handoff package.
How to enroll in demand‑response programs?
Check your utility for available programs and device requirements. Enrollment usually asks for a compatible thermostat or a certified gateway. Read event rules, opt‑out options, and compensation details before you agree.
If you travel or have variable schedules, ensure the program allows easy opt‑out for events. Many programs let you skip an event without penalty if you need full control on a given day.
What documentation should you keep?
Save wiring diagrams, commissioning reports, receipts, and equipment manuals in a home maintenance file. Record final thermostat settings and any minimum runtime parameters. Digital copies are easiest to share with technicians later.
That history helps with warranty claims, rebate paperwork, and future upgrades. A clear folder avoids guesswork when a system needs service years later. [Point 3] (Source: NREL Advanced HVAC Controls)
What are common installation pitfalls?
Many pitfalls start with skipped planning steps or wrong part choices. Installers sometimes swap thermostats without checking C‑wire, staging, or fan control. Dampers can be installed in tight bends that raise static pressure and reduce airflow.
Another frequent issue is poor commissioning. Systems left untested may short cycle, dehumidify poorly, or ventilate at wrong times. Insist on pre‑install checks and a post‑install commissioning report to avoid these failures.
What compatibility issues cause failures?
Using a thermostat that lacks heat pump or dual‑fuel logic can force auxiliary heat on or ignore compressor stages. That results in higher bills and poor comfort. Router or cloud issues can also break remote access or integrations.
For BMS projects, wrong protocol selection blocks integration between devices and the main platform. Confirm support for BACnet, Modbus, or other needed protocols before buying hardware.
How to avoid incorrect wiring errors?
Label wires and take photos before disconnecting any thermostat. Turn off power at the breaker and confirm 24VAC presence with a meter. Match wires to terminals per the wiring diagram of both the system and the new thermostat.
If you see line voltage wires or unclear wiring, stop and call a pro. Mistakes here can damage electronics and cause unsafe conditions that void warranties.
What should you expect during install?
A professional install will include wiring, mounting, and commissioning. Technicians should test sensors, set staging, and verify minimum run times. Expect them to run heating and cooling cycles and to provide a wiring diagram.
You should receive instructions for app setup and a commissioning report. That report should list tests run, final settings, and any follow‑up work needed to meet performance goals.
Ready to upgrade?
If you plan to upgrade, gather system info and clear project goals first. Note current thermostat type, number of HVAC stages, and whether you have a heat pump or dual‑fuel system. That list helps installers give accurate quotes and avoid surprises.
Next, schedule a professional assessment for anything beyond a basic thermostat. Pros verify wiring, measure fan capacity, and inspect ducts. Commissioning after install completes the project and confirms the system works as intended.
How to schedule an assessment?
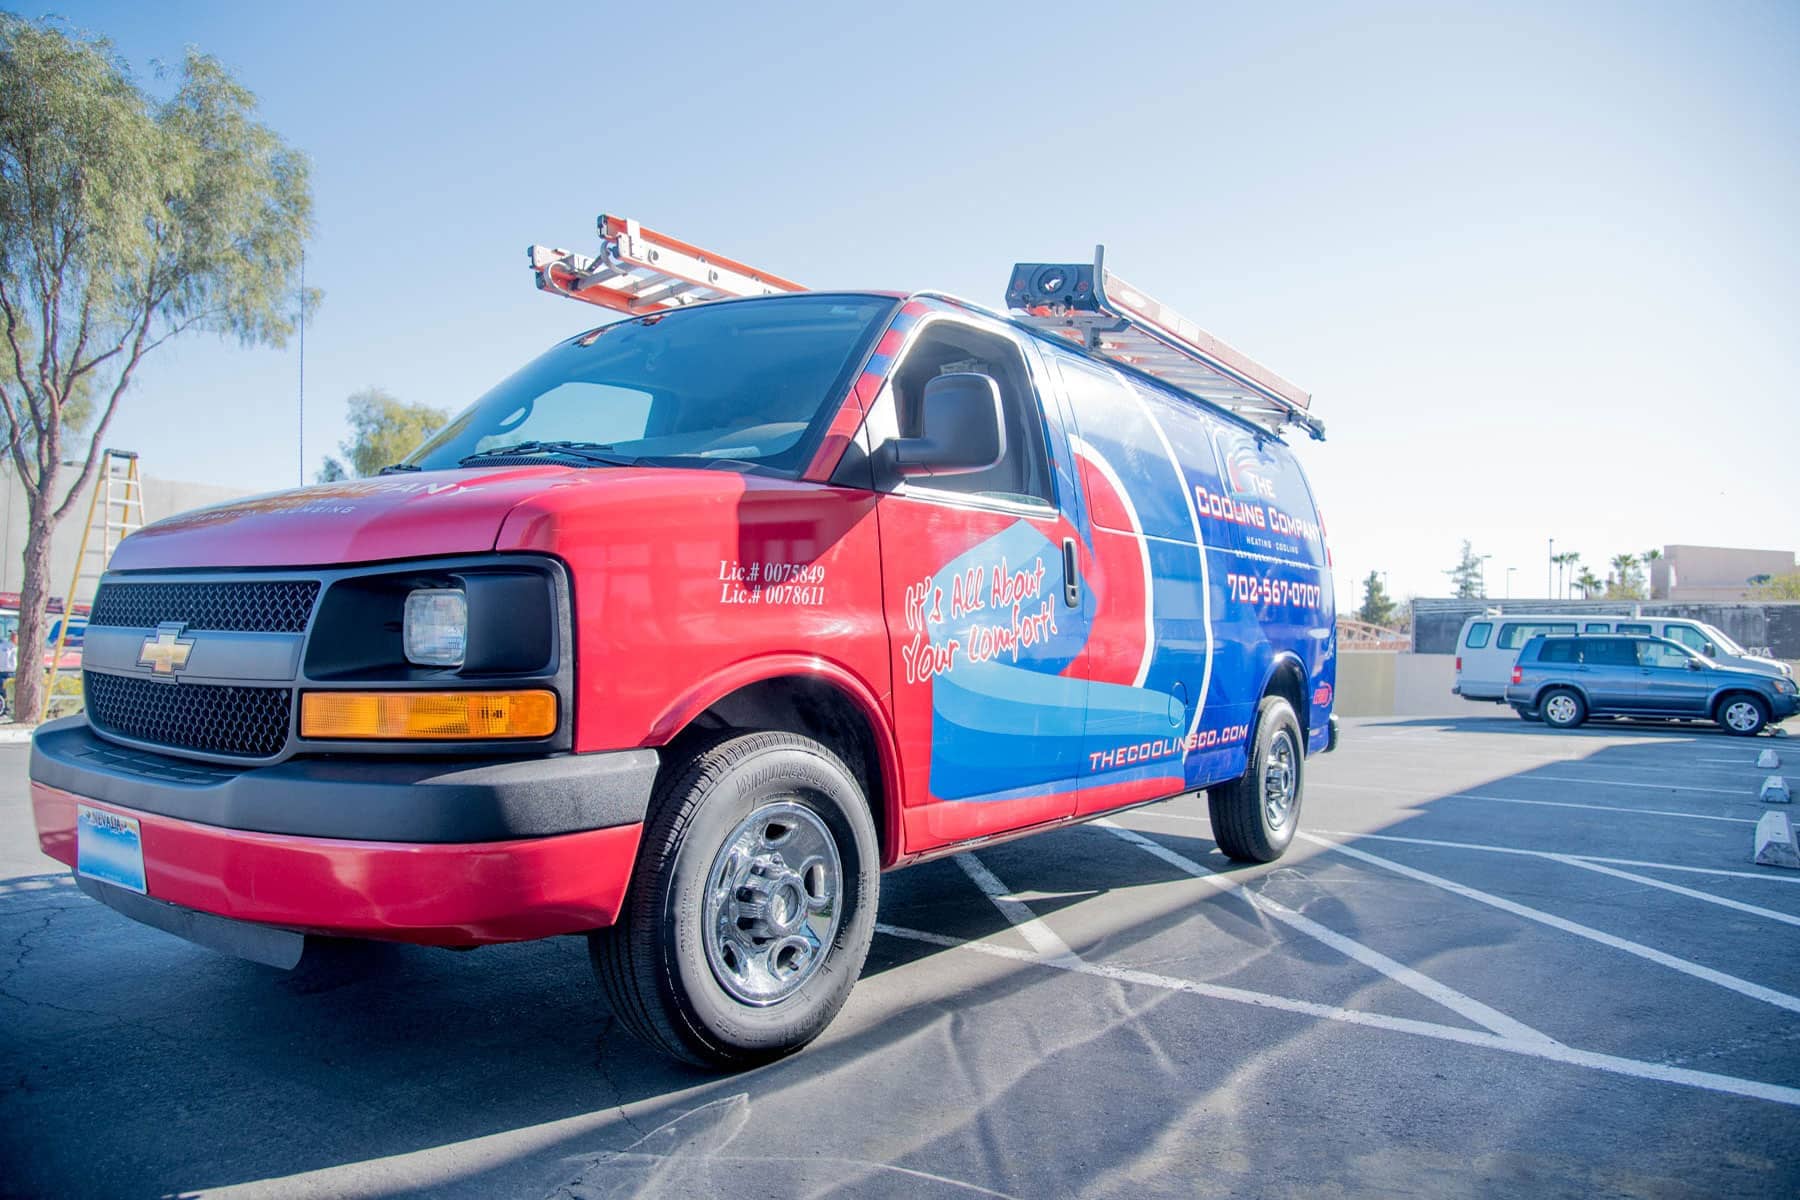
If you are in the Las Vegas area and ready to upgrade, call The Cooling Company at (702) 567-0707 to schedule an assessment. The team will inspect your system, check wiring and duct layout, and give a written quote with expected savings. They serve Las Vegas, Henderson, and North Las Vegas.
Residents outside our service area should hire a qualified local technician. Look for NATE certification at natex.org and ask about controls, zoning, and commissioning. For Las Vegas area help, call The Cooling Company at (702) 567-0707 for a local, timely visit.
Which installer should you hire?
Hire a licensed HVAC contractor with controls experience and references for similar jobs. Ask for NATE certification and examples of work on heat pumps, zoning, and BMS. Request commissioning reports and documented savings from past jobs.
For reliable local service in Las Vegas, Henderson, or North Las Vegas, contact The Cooling Company at (702) 567-0707. Their technicians offer wiring checks, thermostat swaps, zoning installs, and full commissioning with clear documentation and follow‑up.
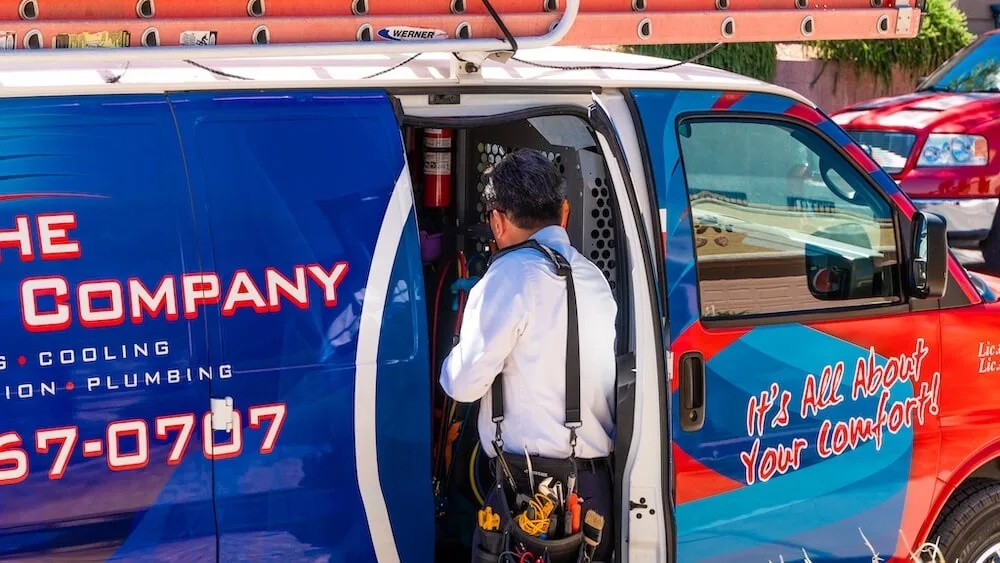
What to expect from The Cooling Company visit?
A typical visit includes system inspection, wiring check, duct assessment, and a written quote that lists parts and labor. Technicians will test staging and minimum run times and discuss rebate options. You will get a commissioning report after work is done.
The Cooling Company can install smart thermostats, add zoning dampers, or integrate sensors. They provide clear pricing, documented tests, and follow‑up support. Call (702) 567-0707 to book an on‑site assessment.
Final checklist before you hire
Make sure bids include parts, labor, and commissioning. Confirm expected payback and available rebates. Ask about warranty terms and any maintenance plans. Verify installer credentials, insurance, and local licensing.
Keep a written record of final settings, wiring diagrams, and the commissioning report. That file will help future service calls and support any rebate or warranty claims. For local installs in Las Vegas, Henderson, or North Las Vegas, call The Cooling Company at (702) 567-0707.
Related reading: what to explore next?
About The Cooling Company
- Phone: (702) 567-0707
References
- U.S. Department of Energy (Energy.gov) (accessed 2025-12-29)
- U.S. Environmental Protection Agency (EPA) (accessed 2025-12-29)
- ASHRAE (Standards and guidance) (accessed 2025-12-29)
- ENERGY STAR (Heating & cooling) (accessed 2025-12-29)
Related service: Want to lower your energy bills? Explore our AC maintenance and energy-efficient AC installation services for Las Vegas homeowners.
Need HVAC Service in Las Vegas?
The Cooling Company provides expert HVAC service throughout Las Vegas, Henderson, and North Las Vegas. Our licensed technicians deliver honest assessments, upfront pricing, and reliable results.
Call (702) 567-0707 or visit AC repair, maintenance, heating, or installation for details.