
Short answer: Learn HVAC maintenance tips to diagnose and fix a Lennox defrost board error in Summerlin fast using clear checks so you can avoid rising repair costs.
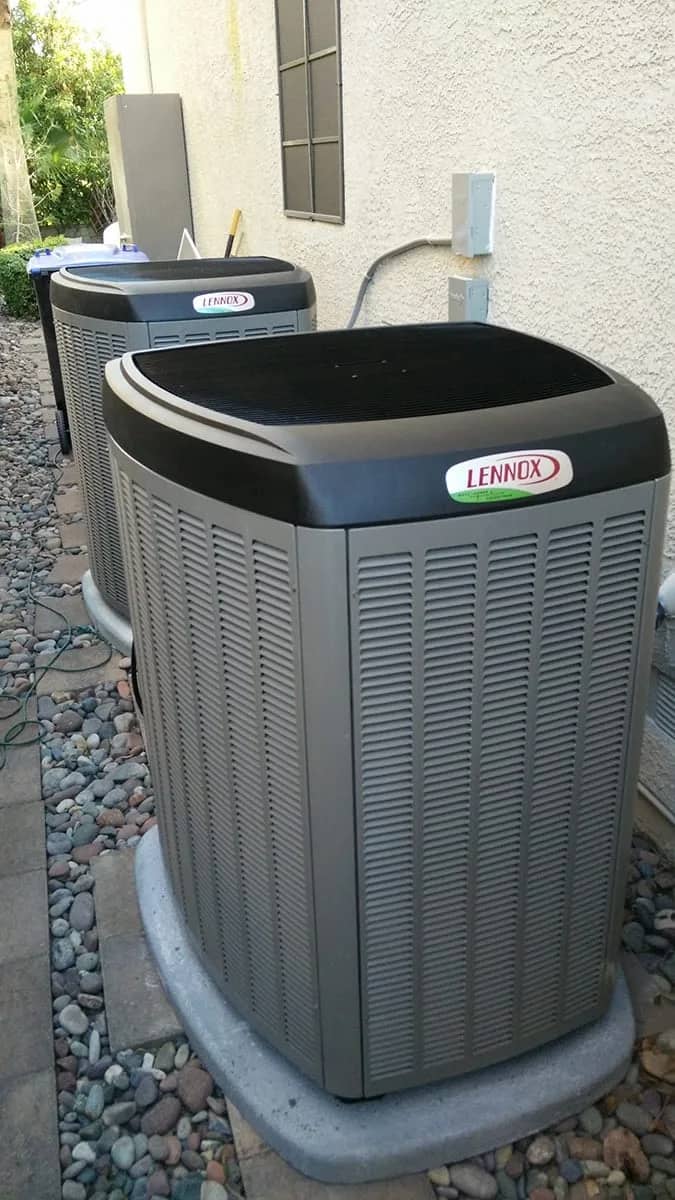
A Lennox defrost board error often points to control, sensor, or wiring trouble rather than a failed compressor. In Summerlin, mild winters make true ice buildup rare. That means many defrost codes are false positives caused by corroded connectors, bad thermistors, blown low-voltage fuses, or intermittent comms.
Key Takeaways
- Use a room-by-room Manual J load calculation (not a square-foot rule).
- Select equipment with Manual S and verify ducts with Manual D for comfort and efficiency.
- Avoid oversizing: short-cycling wastes fuel and can create uneven temperatures.

What is a Lennox defrost board error? N/A
A defrost board error is a control fault that appears when a heat pump’s defrost system reports an abnormal condition. The outdoor unit has a control that runs defrost cycles when the coil ice is detected or when timing and temperature logic requires it. When that control sees an out-of-range sensor value, lost power, or failed communication, it will post a code or lock out the unit.
The code is a clue, not a final diagnosis. Many problems mimic a failed board. Sensors, harnesses, and low-voltage supplies often produce identical symptoms. A systematic check of simple parts helps avoid replacing a costly control board unnecessarily.
Why does this show up in Summerlin?
Summerlin and the Las Vegas region have mild winters and many days above freezing. Real coil icing is uncommon here. Because of that climate, defrost faults are statistically more likely to come from wiring, connector corrosion, or failed sensors than from actual frost on the coil.
Climate context is useful when you describe a problem to a technician. Note the exact weather at the time of the fault and whether any dew or rare cold snap occurred. If ice is present, photograph it. If not, that information steers the tech toward low-voltage and sensor checks first.
How can heat pump defrost logic fail?
Defrost logic relies on sensors and low-voltage controls. Thermistors measure coil and ambient temperatures. If a thermistor reads open, shorted, or out of spec, the control may start or skip defrost cycles in error. Corroded edge connectors and harness plugs commonly introduce intermittent signals that trip logic.
Other causes include blown low-voltage fuses, a failing transformer that sags under load, contactor or relay faults, and firmware or timing issues on the control board. Skilled technicians test the low-voltage supply, measure sensor resistances, and monitor communication lines to find where the problem originates.
Common misdiagnoses to watch for
A frequent mistake is swapping the outdoor control board before testing sensors and harnesses. A corroded harness plug at the board edge looks like a board failure to someone who skips wire checks. Similarly, a marginal transformer that drops voltage under compressor load can cause intermittent faults that seem like a bad control.
Ask the technician to document measured values and meter readings. That record protects you if a part swap does not fix the issue and helps when seeking a second opinion or warranty coverage. Good techs will avoid throwing parts at a symptom without data.
How to diagnose this at home
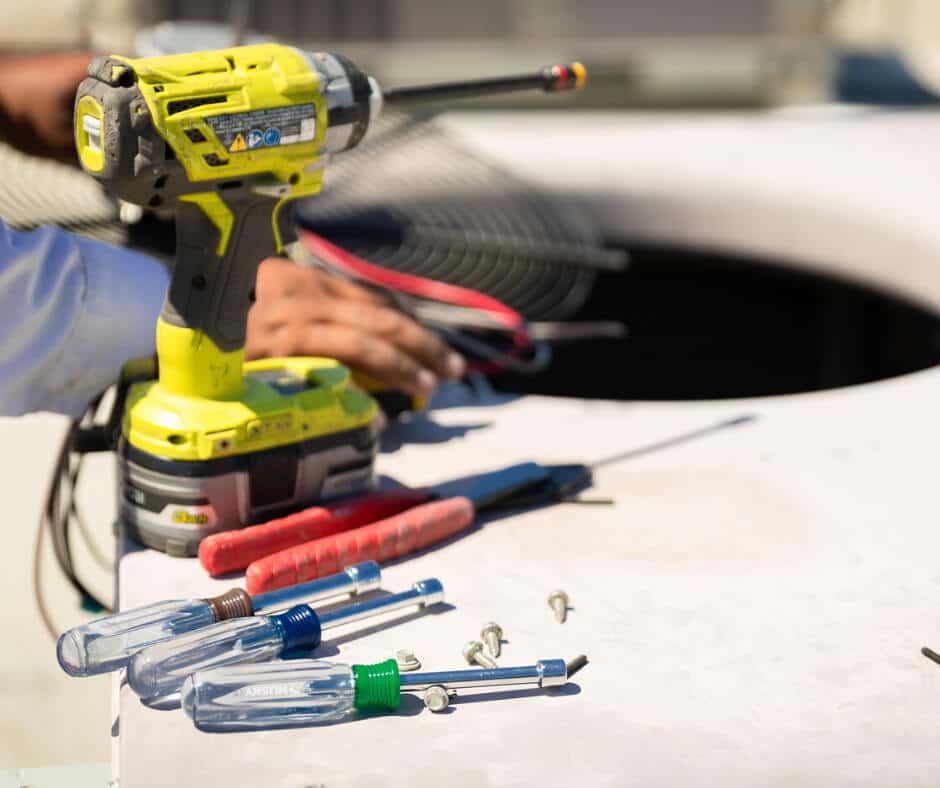
Homeowners can perform safe, non-electrical steps that narrow the cause and make the service visit faster. Visual inspection, breaker resets, and detailed photos of the fault code are valuable. Do not perform live-voltage testing or refrigerant work without certification.
Keep a simple log. Note when the error started, what the thermostat displayed, what you did (for example, breaker reset), and whether the code returned. Timestamped photos are very useful to technicians and often cut diagnostic time and cost.
Can I safely reset the Lennox system?
Yes. A simple reset can clear transient communication faults and restart timers. Turn off the outdoor unit breaker at the main panel for at least 60 seconds, then turn it back on. Record the exact time of the reset and watch if the code returns.
If the error reappears quickly, take a photo with a visible timestamp and note indoor and outdoor temperatures. Rapid return suggests an electrical or sensor issue rather than a one-time glitch.
Which basic visual checks help most?
From a safe distance, look for corroded harness plugs, cracked boots, chewed insulation, or signs of rodent activity. Inspect wiring for melted insulation, burnt areas, or heavy oil stains that might indicate a refrigerant leak. Do not touch anything until you have killed power.
If you see obvious damage, shut off the outdoor breaker and take clear photos. These photos help the technician prioritize repairs and order needed parts before arriving.
How to inspect outdoor coil and fan
Always kill power at the breaker before reaching inside the unit. Check for leaves, nests, or debris that block airflow. A blocked fan or dirty coil can change temperature patterns and confuse thermistors, which leads to false defrost events.
Look for bent fins and heavy dirt. A dirty coil needs professional cleaning. Coil dirt and airflow restriction are common contributors to temperature sensor errors and should be fixed before deep electrical troubleshooting.
What thermostat readouts matter?
Capture the exact fault code, thermostat mode, and indoor temperature. Note if the thermostat shows communication errors or a defrost symbol. Many smart thermostats keep a history you can screenshot or export.
History data helps determine whether the fault is local to the outdoor unit or driven by indoor control comms. Share this history with the technician to speed diagnosis and avoid unnecessary parts swaps.
When should I call a professional?
Call a licensed technician whenever you encounter live-voltage hazards, burnt wiring, heavy oil stains, or persistent errors that return after a reset. These signs need a trained professional for safe and correct repair. Intermittent faults that elude home checks also require a tech who can observe the system in operation.
Schedule a timed visit when possible so the tech can be there while the fault is active. That reduces guesswork. If the unit is under warranty, ask for a Lennox-trained technician to protect warranty terms and proper firmware or parts use.
Does a NATE or Lennox tech matter?
Yes. NATE certification shows core HVAC skills and diagnostic knowledge. A Lennox-trained technician understands model-specific controls, wiring harnesses, and warranty rules. If your unit is under warranty, using a manufacturer-trained tech helps avoid voiding coverage.
Ask any contractor for proof of NATE or factory training before authorizing work. It gives you confidence that the technician will follow correct diagnostic steps.
What parts might a tech replace?
Common low-cost replacements include thermistors, harnesses, relays, and low-voltage fuses. These parts fail much more often than control boards. A defrost or communication board is usually replaced only after sensors and wiring test out of spec.
If communication faults point away from the outdoor board, the tech may update firmware or replace the indoor control module. Ask the technician to show meter readings and test data before expensive parts are ordered or installed.
Check our HVAC pricing guide for current cost estimates.
What to expect during the service visit
A typical diagnosis takes 45 to 90 minutes. The technician will read fault logs, measure voltages, and test sensor resistances. If the fault is intermittent, they may schedule a timed visit or ask you to run the unit under observed conditions.
Expect the tech to explain readings and show the failing component before replacing expensive parts. Good professionals give a written diagnosis and an itemized estimate before work begins.
Cost and repair estimates
Repair cost depends on the root cause, part cost, labor time, and access. Simple sensor or harness jobs are low-cost and quick. Control board replacements are more expensive. If a unit is hard to reach or parts are obsolete, labor and lead times increase the bill. Our complete Lennox repair cost guide covers pricing by series and failure type so you know what to expect.
Always get written, itemized estimates that list parts, labor hours, and warranty terms. This helps compare bids and avoid surprise charges. Diagnostic fees vary by provider but are often applied toward repair when you approve service.
How much will repair cost?
Small sensor or harness repairs commonly fall in the low hundreds. Replacing a defrost or communication board with labor can move into the upper hundreds. Prices vary by model, access, and local labor rates.
Ask for a detailed estimate that lists part numbers, labor rates, and warranty coverage. This documentation makes it easier to verify that the work performed matches the charge.
Which jobs push cost to the top end?
High costs come from obsolete parts, difficult access, repeated visits, or extensive electrical work. Older Lennox units may require special-order boards or more labor to retrofit modern controls. Emergency service or after-hours calls also add to the bill.
If repair costs are high and the unit is old or repeatedly failing, compare repair versus replacement. A replacement may be more cost-effective over the long term in some cases.
Can a homeowner fix this themselves?
Homeowners can do safe visual checks, breaker resets, and photo documentation to help a technician. These steps often prevent extra visits and lower diagnostic fees. Do not perform live-voltage testing or refrigerant work without certification.
If you complete basic checks, record all observations and present a clear timeline to the technician. This helps the tech diagnose the issue faster and often reduces repair time and cost.
What basic tools are needed?
A good digital multimeter, flashlight, insulated gloves, and basic hand tools help with non-electrical checks. A smartphone or inspection camera is useful for photos in tight spaces. OEM thermistor resistance charts simplify sensor checks.
Wear eye protection and insulated gloves when near electrical panels. Even when you are not testing voltage, safety gear reduces injury risk.
How to safely kill power to the unit
Turn off the outdoor breaker at the main panel or use the outdoor service switch. Confirm that the fan and compressor have stopped before touching wiring. Label the breaker so it is not turned back on accidentally while you work.
Killing power prevents shock and accidental board damage. This step is simple but essential before any visual inspection or minor parts swap.
Can I test the defrost board without meters?
Not reliably. Visual checks and resets help but do not replace voltage and resistance measurements. A meter confirms whether sensors are within spec or are open/shorted. If you lack a meter, capture fault codes and detailed photos and share them with the technician.
Many repairs hinge on simple meter readings. If you can provide those readings, the tech can often diagnose faster and charge less labor time.
How to use a multimeter for sensor checks
Measure thermistor resistance at a known room temperature and compare the value to the OEM chart. Infinite resistance suggests a broken sensor. Near-zero resistance indicates a short. Record readings and note the measurement temperature.
Provide those values to your technician. Clear data often reduces diagnostic time and service fees and helps avoid unnecessary replacement of control boards.
Which Lennox parts are user-replaceable?
Low-voltage fuses and some plug-in sensors are often user-replaceable with power off. Keep parts, photos, and receipts for warranty support. Major components such as control boards, compressors, and refrigerant work require certified technicians.
See why homeowners trust us — view our industry awards and certifications.
If you replace user-serviceable parts, follow OEM instructions and retain documentation in case of warranty questions.
When should you stop DIY and call a pro?
Stop when you encounter live voltage, refrigerant lines, burnt wiring, or persistent faults after a reset. Also call a technician if the fault is intermittent or the system behaves unpredictably. These signs require trained handling to prevent injury or further damage.
When in doubt, call a licensed technician and provide your log, photos, and any meter readings you took. That information makes the visit more efficient.
Request a local Lennox service quote
Call The Cooling Company at (702) 567-0707 for lennox heat pump repair las vegas help in Las Vegas, Henderson, and North Las Vegas. Ask for a NATE- or Lennox-trained technician and share clear photos of the fault code and any wiring or coil issues. The tech should test sensors and low-voltage supply before recommending a board replacement.
If you are outside our area, ask any provider for NATE certification and insist they measure sensor resistances and log fault history. Schedule service on weekdays when technician availability is highest. Weekend or emergency calls may include higher fees.
What to expect during the service visit
Expect a technician to spend 45 to 90 minutes diagnosing a defrost fault. They will read fault logs, measure voltages, and test sensor resistance. If the fault is intermittent, the tech may request a timed visit to observe the error while it occurs.
Good technicians explain each measured value and show you the failing component before ordering expensive parts. Ask for an itemized estimate on arrival so you understand parts, labor, and warranty terms up front.
How to prepare for the tech's visit
Gather photos, thermostat logs, unit model and serial numbers, and a timeline of when the error began. Point out any visual damage you discovered during your inspection. This preparation helps the technician find the root cause faster.
Ask for a written diagnosis and an itemized repair estimate before work begins. Documentation keeps the process transparent and helps if warranty claims follow.
You Might Also Like
If you want to read more on related HVAC topics, the list below covers common home heating and cooling concerns. These articles provide practical troubleshooting tips and local service discussions. They help you understand when a repair is simple and when a professional is required.
- troubleshooting hvac odors
- ruud furnace problems
- trane furnace repair henderson
- how much to install hvac system in old house
What are the key considerations?
Carefully weigh repair cost, unit age, and warranty coverage when deciding next steps. Proper diagnosis reduces waste and may reveal a simple sensor swap instead of a major board replacement. Consult qualified professionals for system-specific advice.
Document everything. A clear timeline, photos, and meter readings protect you and help the technician act quickly and correctly.
How does this affect homeowners?
Following a steady process avoids common mistakes like unnecessary part swaps or missed safety hazards. Start with safe checks and clear documentation. When repairs are needed, choose trained technicians and get itemized quotes.
These steps lead to better outcomes and lower long-term costs.
Related service: Considering a heat pump for your Las Vegas home? Explore our heat pump installation and heating services services for Las Vegas homeowners.
Need HVAC service help in Las Vegas?
Las Vegas homeowners trust The Cooling Company for professional HVAC services. Whether you need routine maintenance, repairs, or a new system installation, our licensed technicians deliver quality work backed by our satisfaction guarantee. Ready to get started? Call (702) 567-0707 or schedule online. We serve Las Vegas, Henderson, North Las Vegas, and surrounding communities.
If you're outside our service area, ask for NATE-certified technicians when choosing a contractor. For emergencies in Las Vegas, Henderson, or North Las Vegas, The Cooling Company offers fast, reliable service from licensed technicians.
What factors should you evaluate?
Evaluate certification, local experience, warranty terms, and whether the tech documents diagnostic readings. These factors matter more than a low up-front price. A clear, written estimate with parts and labor listed prevents surprises.
If you face repeated failures, compare repair and replacement costs. Sometimes a new system offers better reliability and lower operating cost over time.
What are the key considerations?
Heating and cooling emergencies do not wait. If you need emergency help, call (702) 567-0707 for immediate service. Prioritize safety and documented diagnosis when choosing a provider.
Good providers explain measured values and show failing parts before charging for major replacements.
About The Cooling Company
The Cooling Company has been serving the Las Vegas valley with professional HVAC services for over a decade. Our team of licensed, NATE-certified technicians specializes in air conditioning repair, heating system maintenance, and complete HVAC installations. We're committed to providing honest, reliable service with upfront pricing and a 100% satisfaction guarantee on all work performed.
- Phone: (702) 567-0707
- Reviews: 4.9/5 stars (500 reviews) - See reviews
Service Areas
We proudly serve homeowners and businesses throughout the Las Vegas metropolitan area, including Las Vegas, Henderson, and North Las Vegas. Our service technicians are available for same-day appointments in most areas, with emergency service available 24/7 for urgent HVAC issues.
Sources and further reading?
- EPA Indoor Air Quality (IAQ)
- DOE Better Buildings 96 HVAC
- U.S. Department of Energy (Energy.gov) (accessed 2026-01-02)
- U.S. Environmental Protection Agency (EPA) (accessed 2026-01-02)
- ASHRAE (Standards and guidance) (accessed 2026-01-02)
- ENERGY STAR (Heating & cooling) (accessed 2026-01-02)
Need HVAC Service in Las Vegas?
The Cooling Company provides expert HVAC service throughout Las Vegas, Henderson, and North Las Vegas. Our licensed technicians deliver honest assessments, upfront pricing, and reliable results.
Call (702) 567-0707 or visit heating, furnace repair, heat pump installation, or heating maintenance for details.